
Keto Beef Taquitos with Crispy Cheese Shells
Jump to...
Introduction
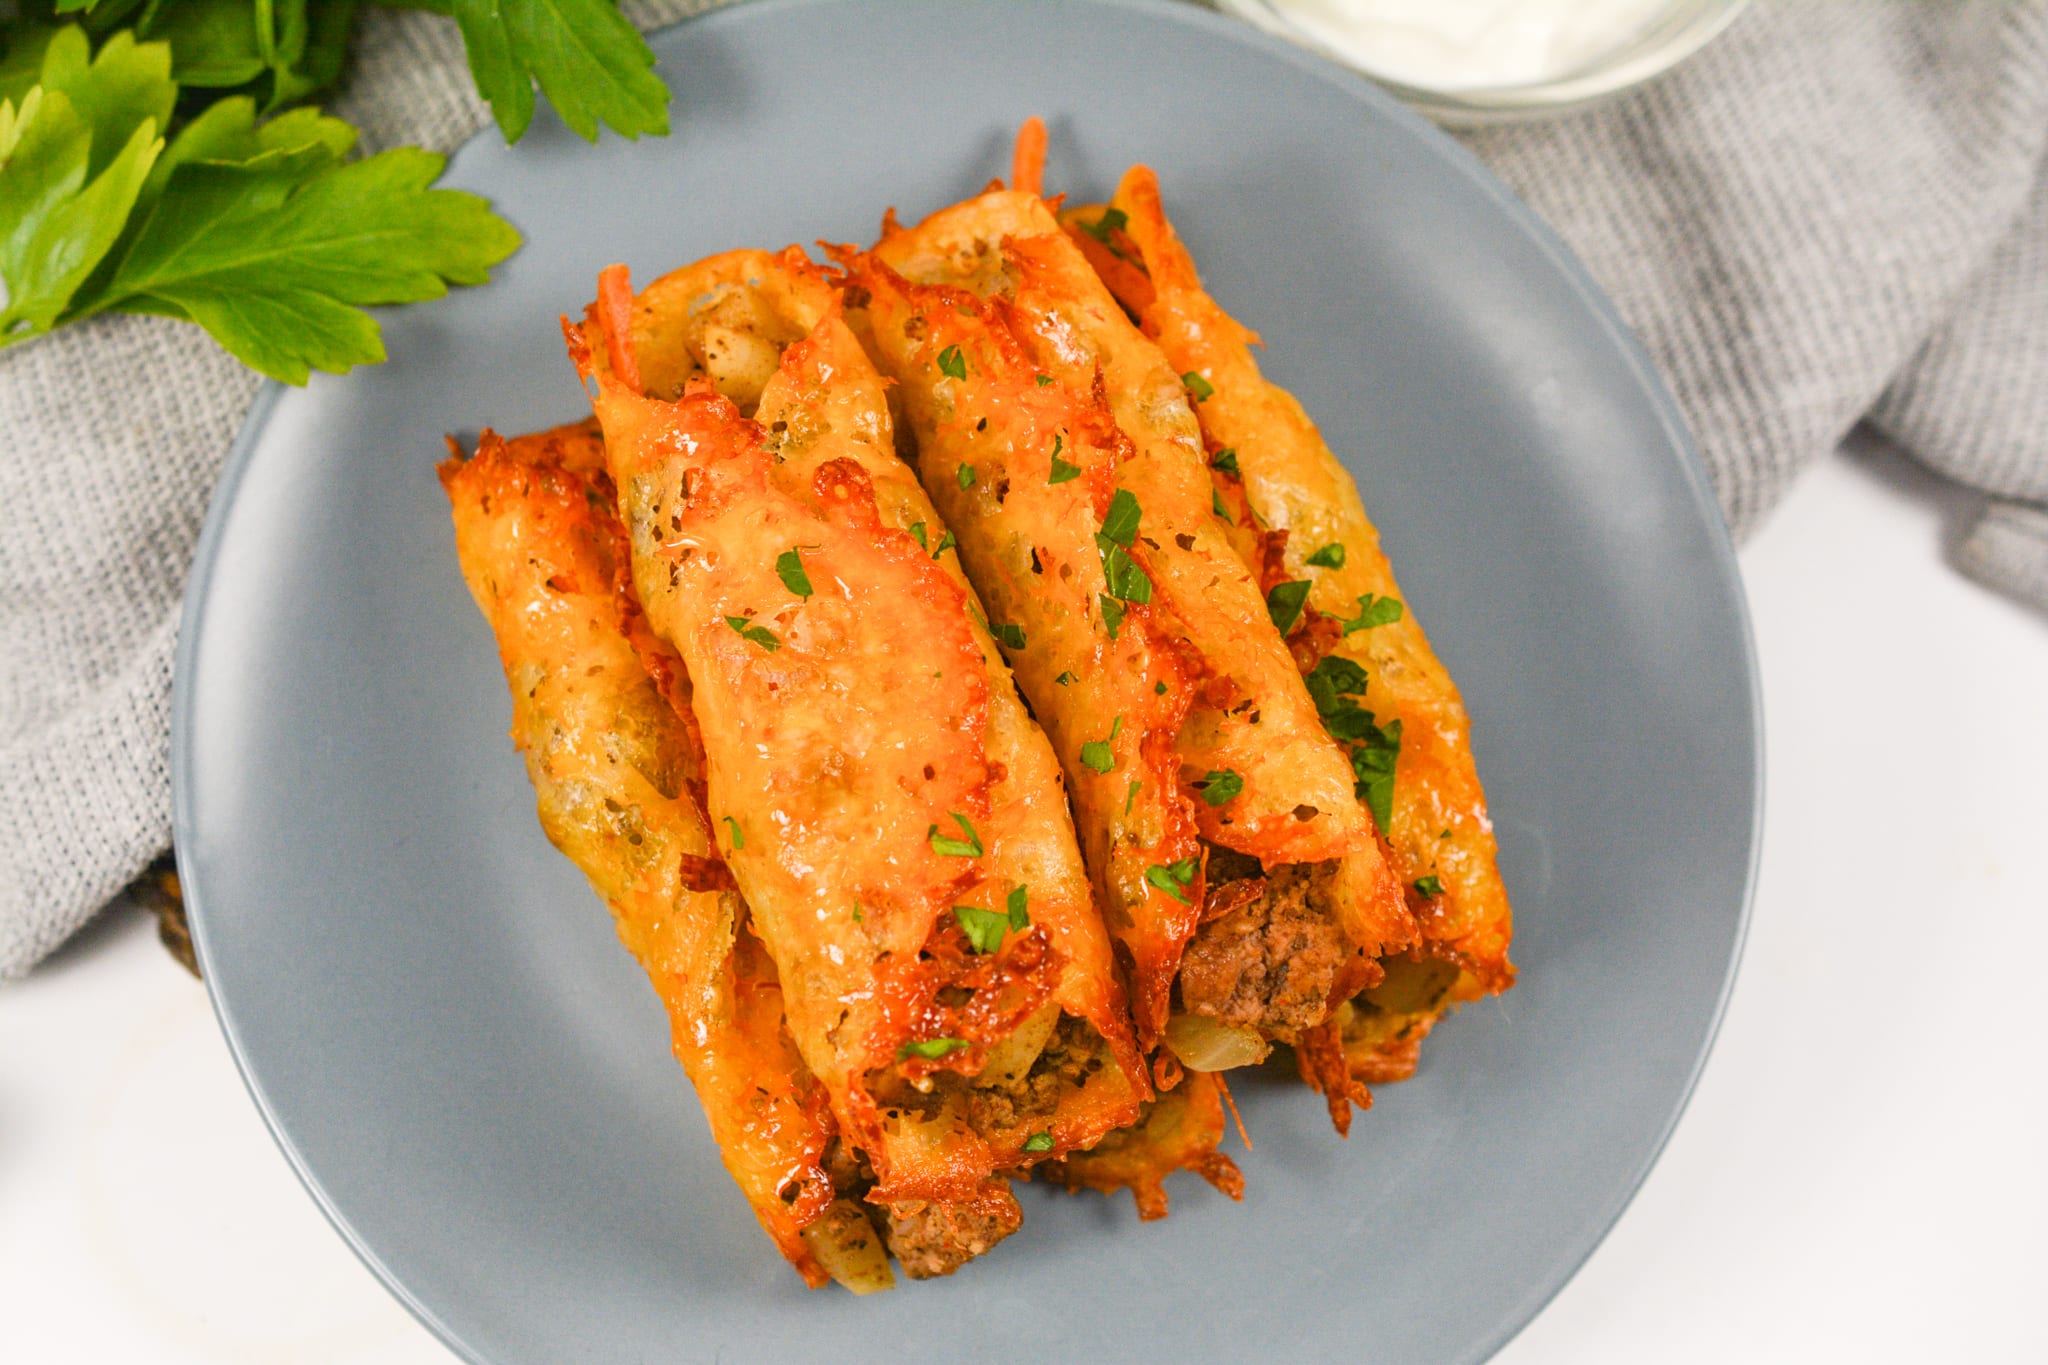
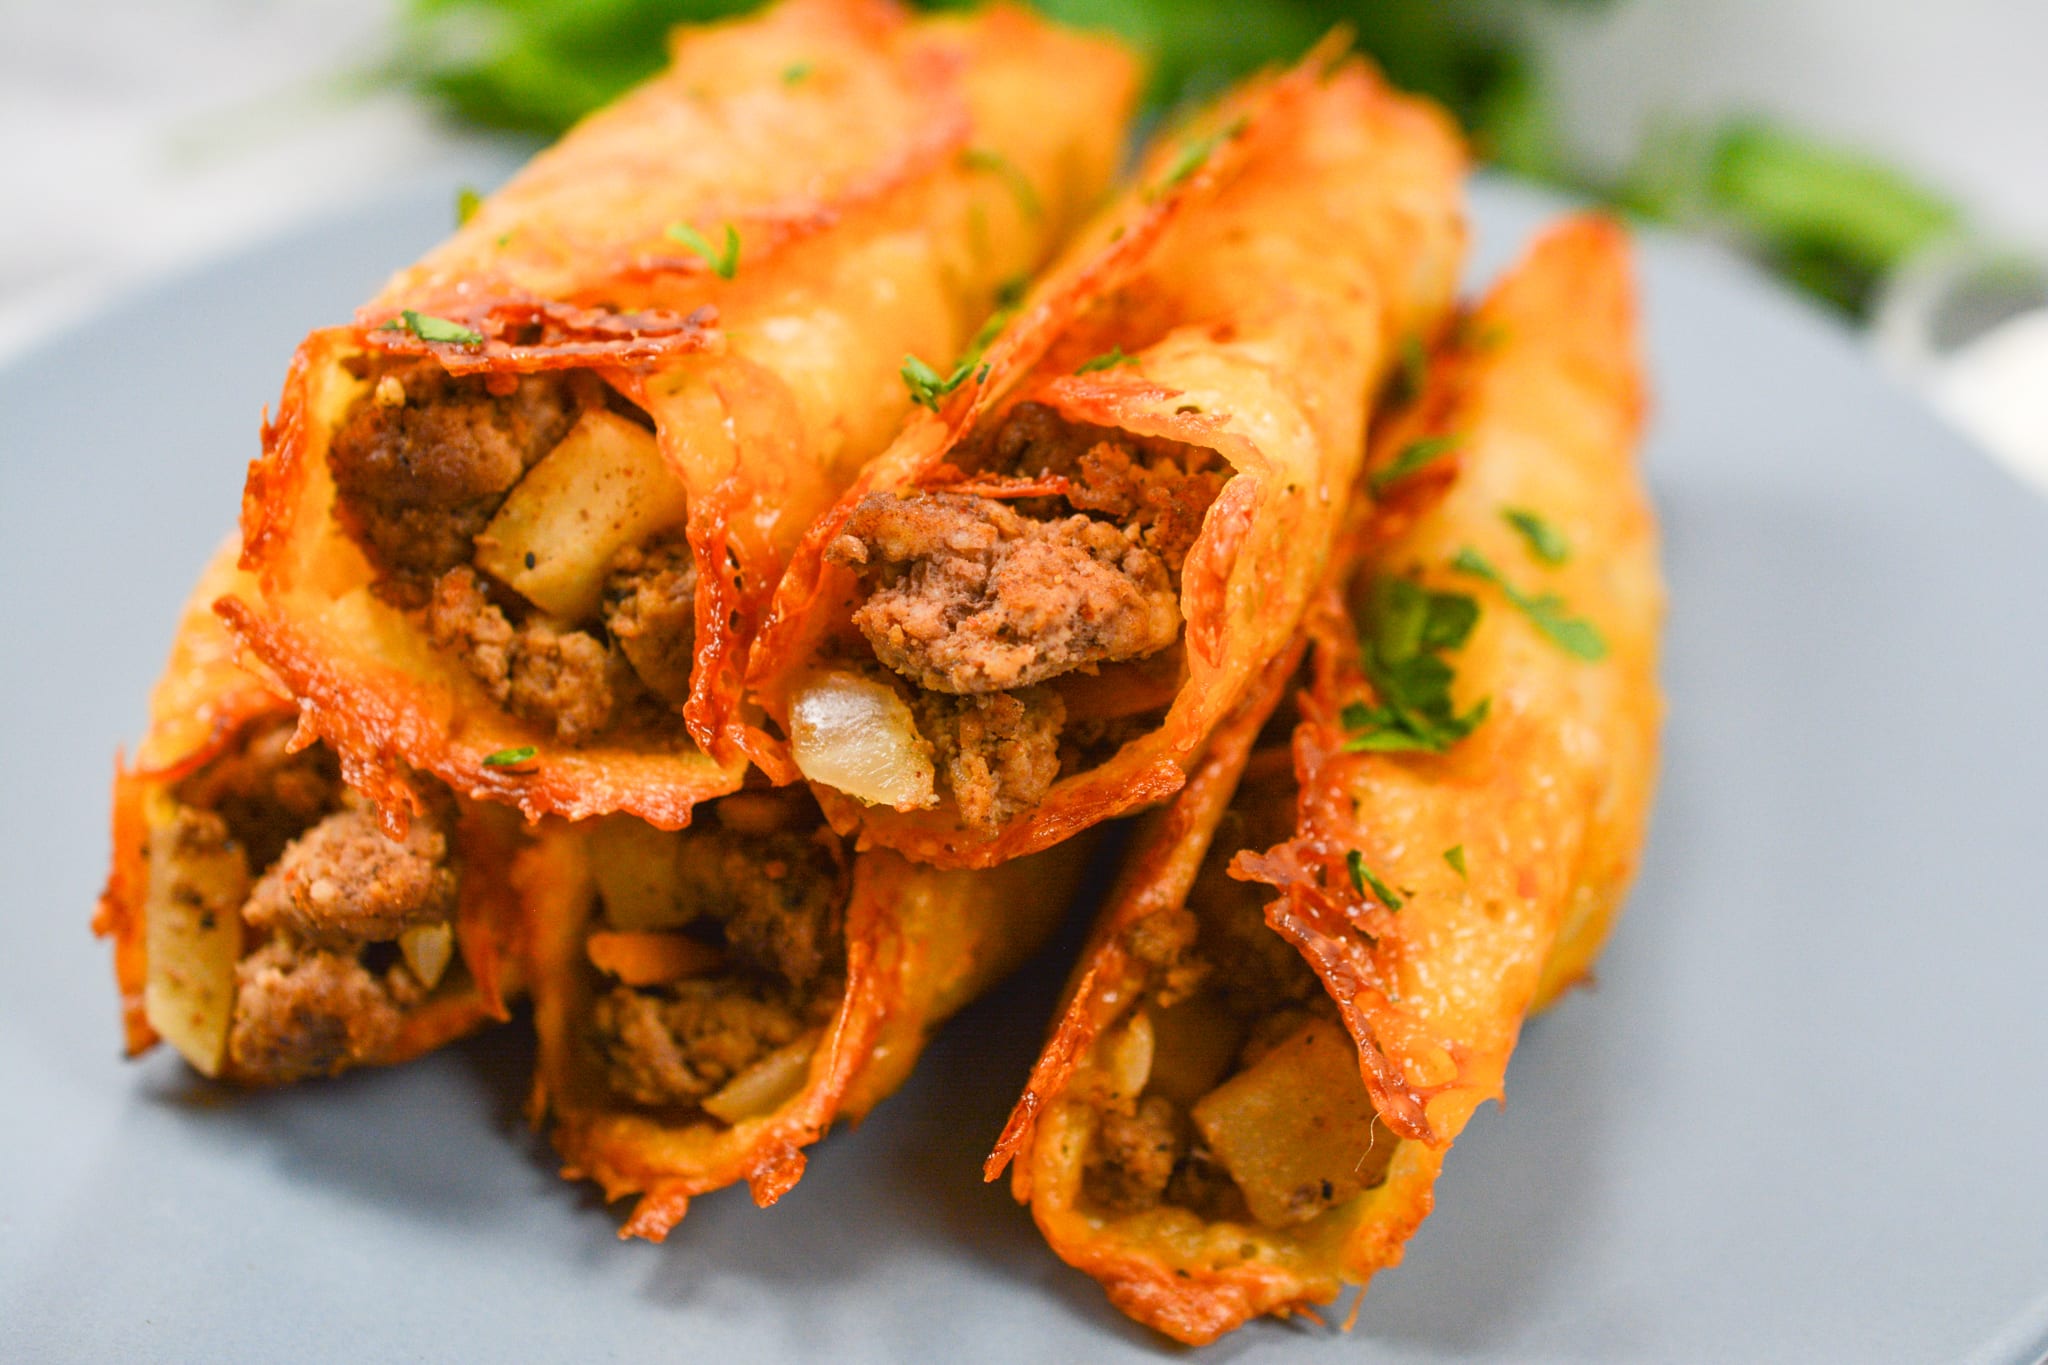
These keto beef taquitos wrap a savory ground beef and vegetable filling in crispy baked cheese shells. There’s no low-carb tortilla to buy and no frying involved — shredded cheese becomes the wrapper, giving you a crisp, cheesy shell around a warm, seasoned filling.
The filling combines ground beef with turnip, carrot, onion, garlic, broth, and warm spices, so these are a little more substantial than the typical cheese-shell taquito. They work just as well as an appetizer with sour cream or salsa as they do for dinner with a simple salad or cauliflower rice.
The trick is all in the timing. The cheese needs to cool just long enough to hold together while staying flexible enough to roll. Once you get that window right, the rest of the recipe is surprisingly simple.
What Makes These Keto Taquitos Different
A lot of low-carb taquitos solve the tortilla problem by using a packaged low-carb wrap. That works, but it is not what this recipe is doing. Here, the cheese is the wrapper.
That changes the texture and the technique. The shell is crisp and deeply cheesy rather than tortilla-like, and there is one short moment after baking when it is cool enough to lift but still soft enough to roll. Miss that window and the recipe gets frustrating fast.
The other difference is the filling. Chicken is common in keto taquitos; ours uses seasoned ground beef plus vegetables. The turnip gives the filling some body without bringing in potato, while the carrot, onion, garlic, cumin, chili powder, and tiny pinch of cinnamon keep it from tasting like plain taco meat stuffed into cheese.
The Cheese-Shell Timing Is the Whole Recipe
The filling is forgiving. The cheese rounds are not.
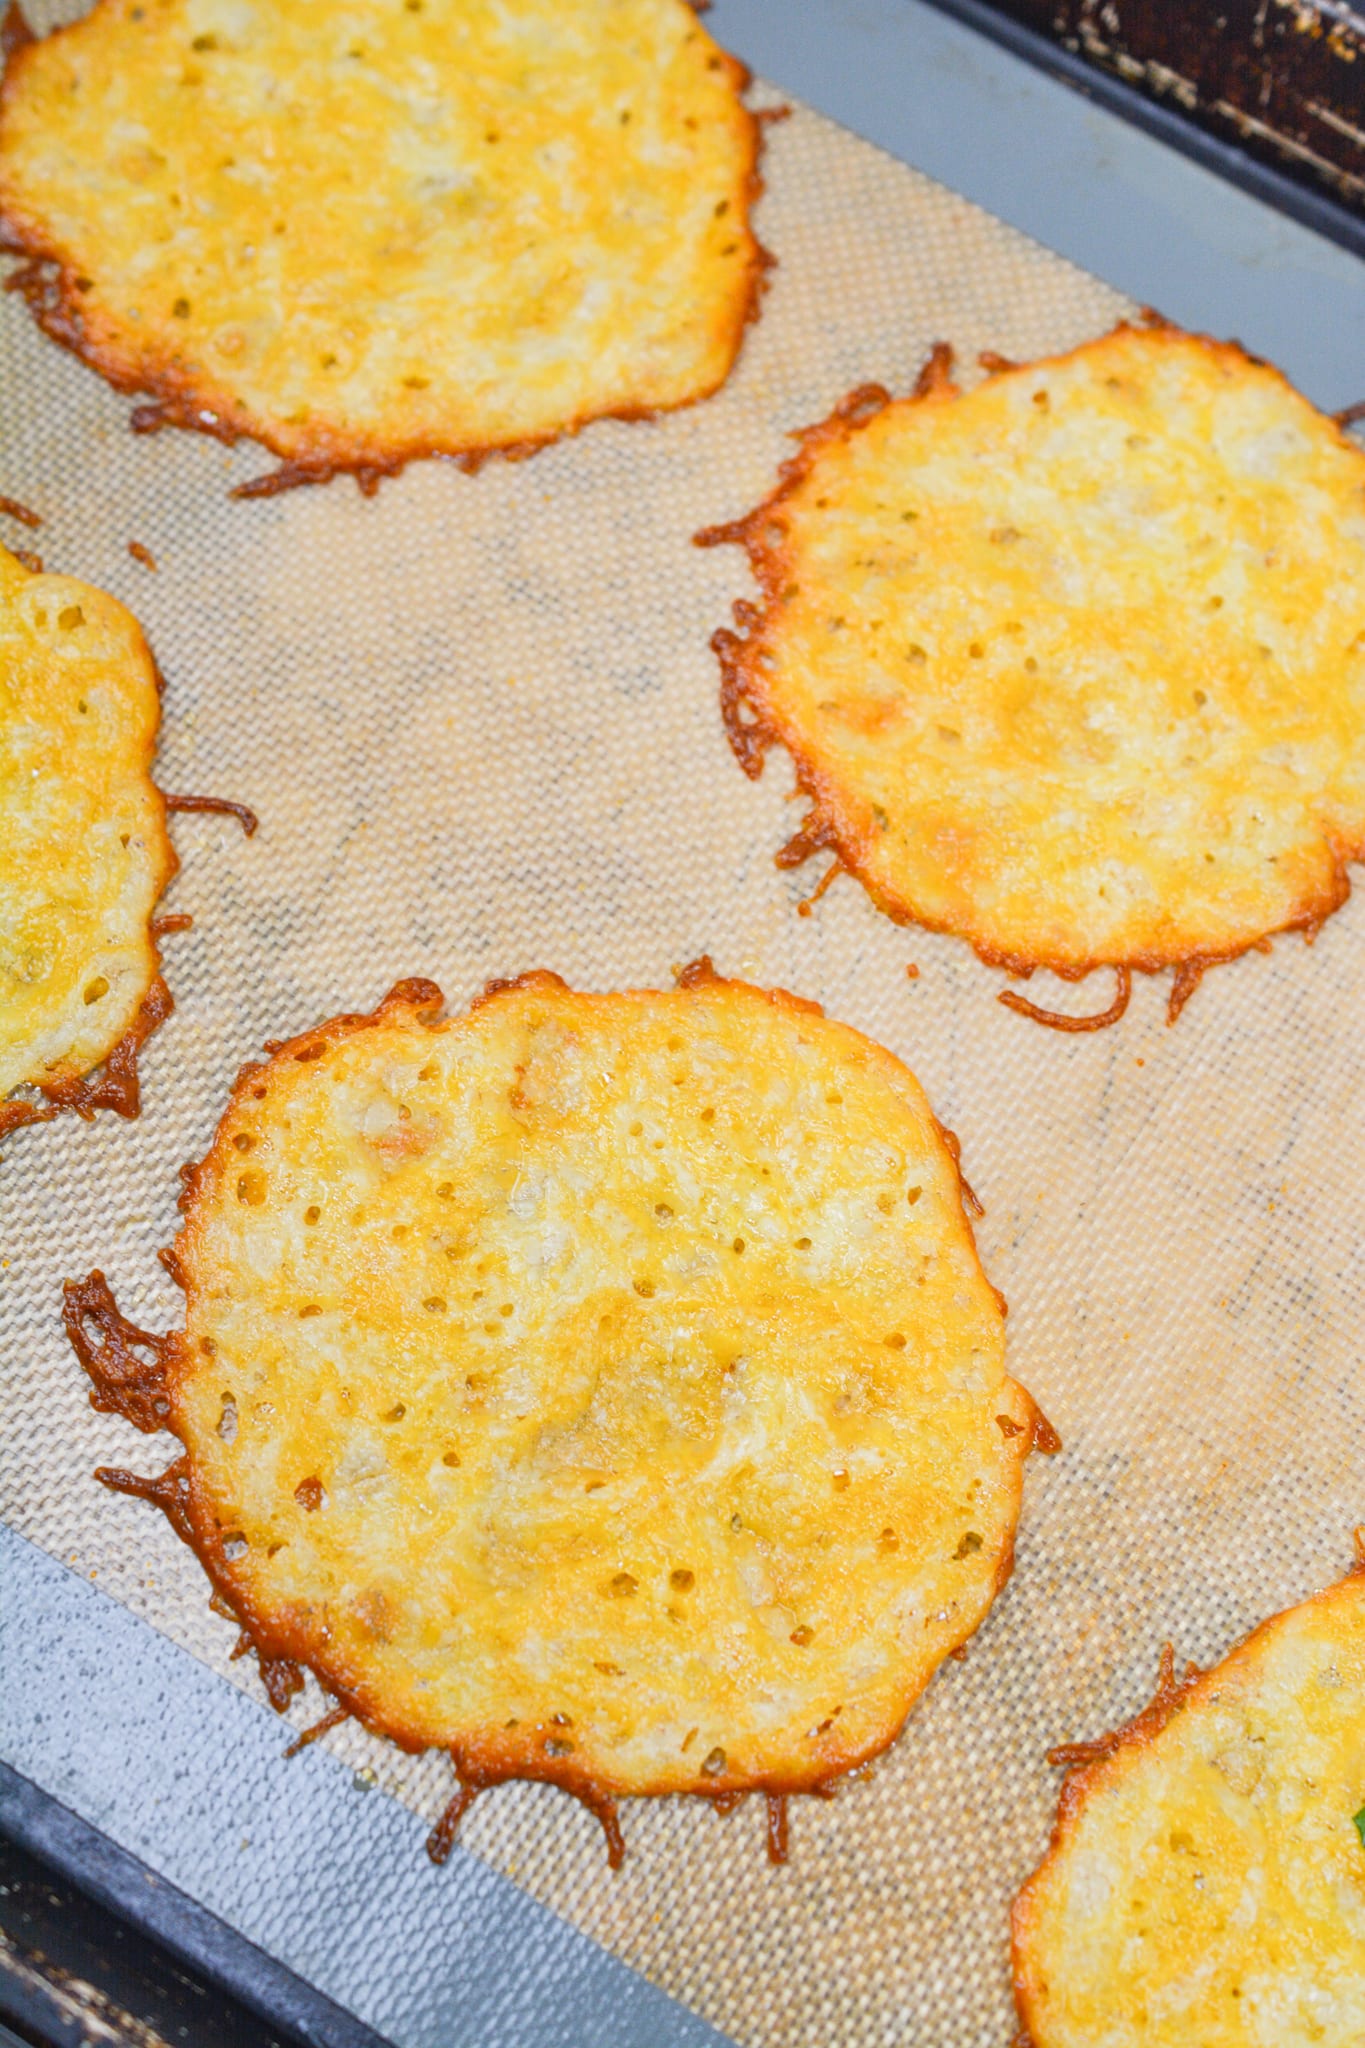
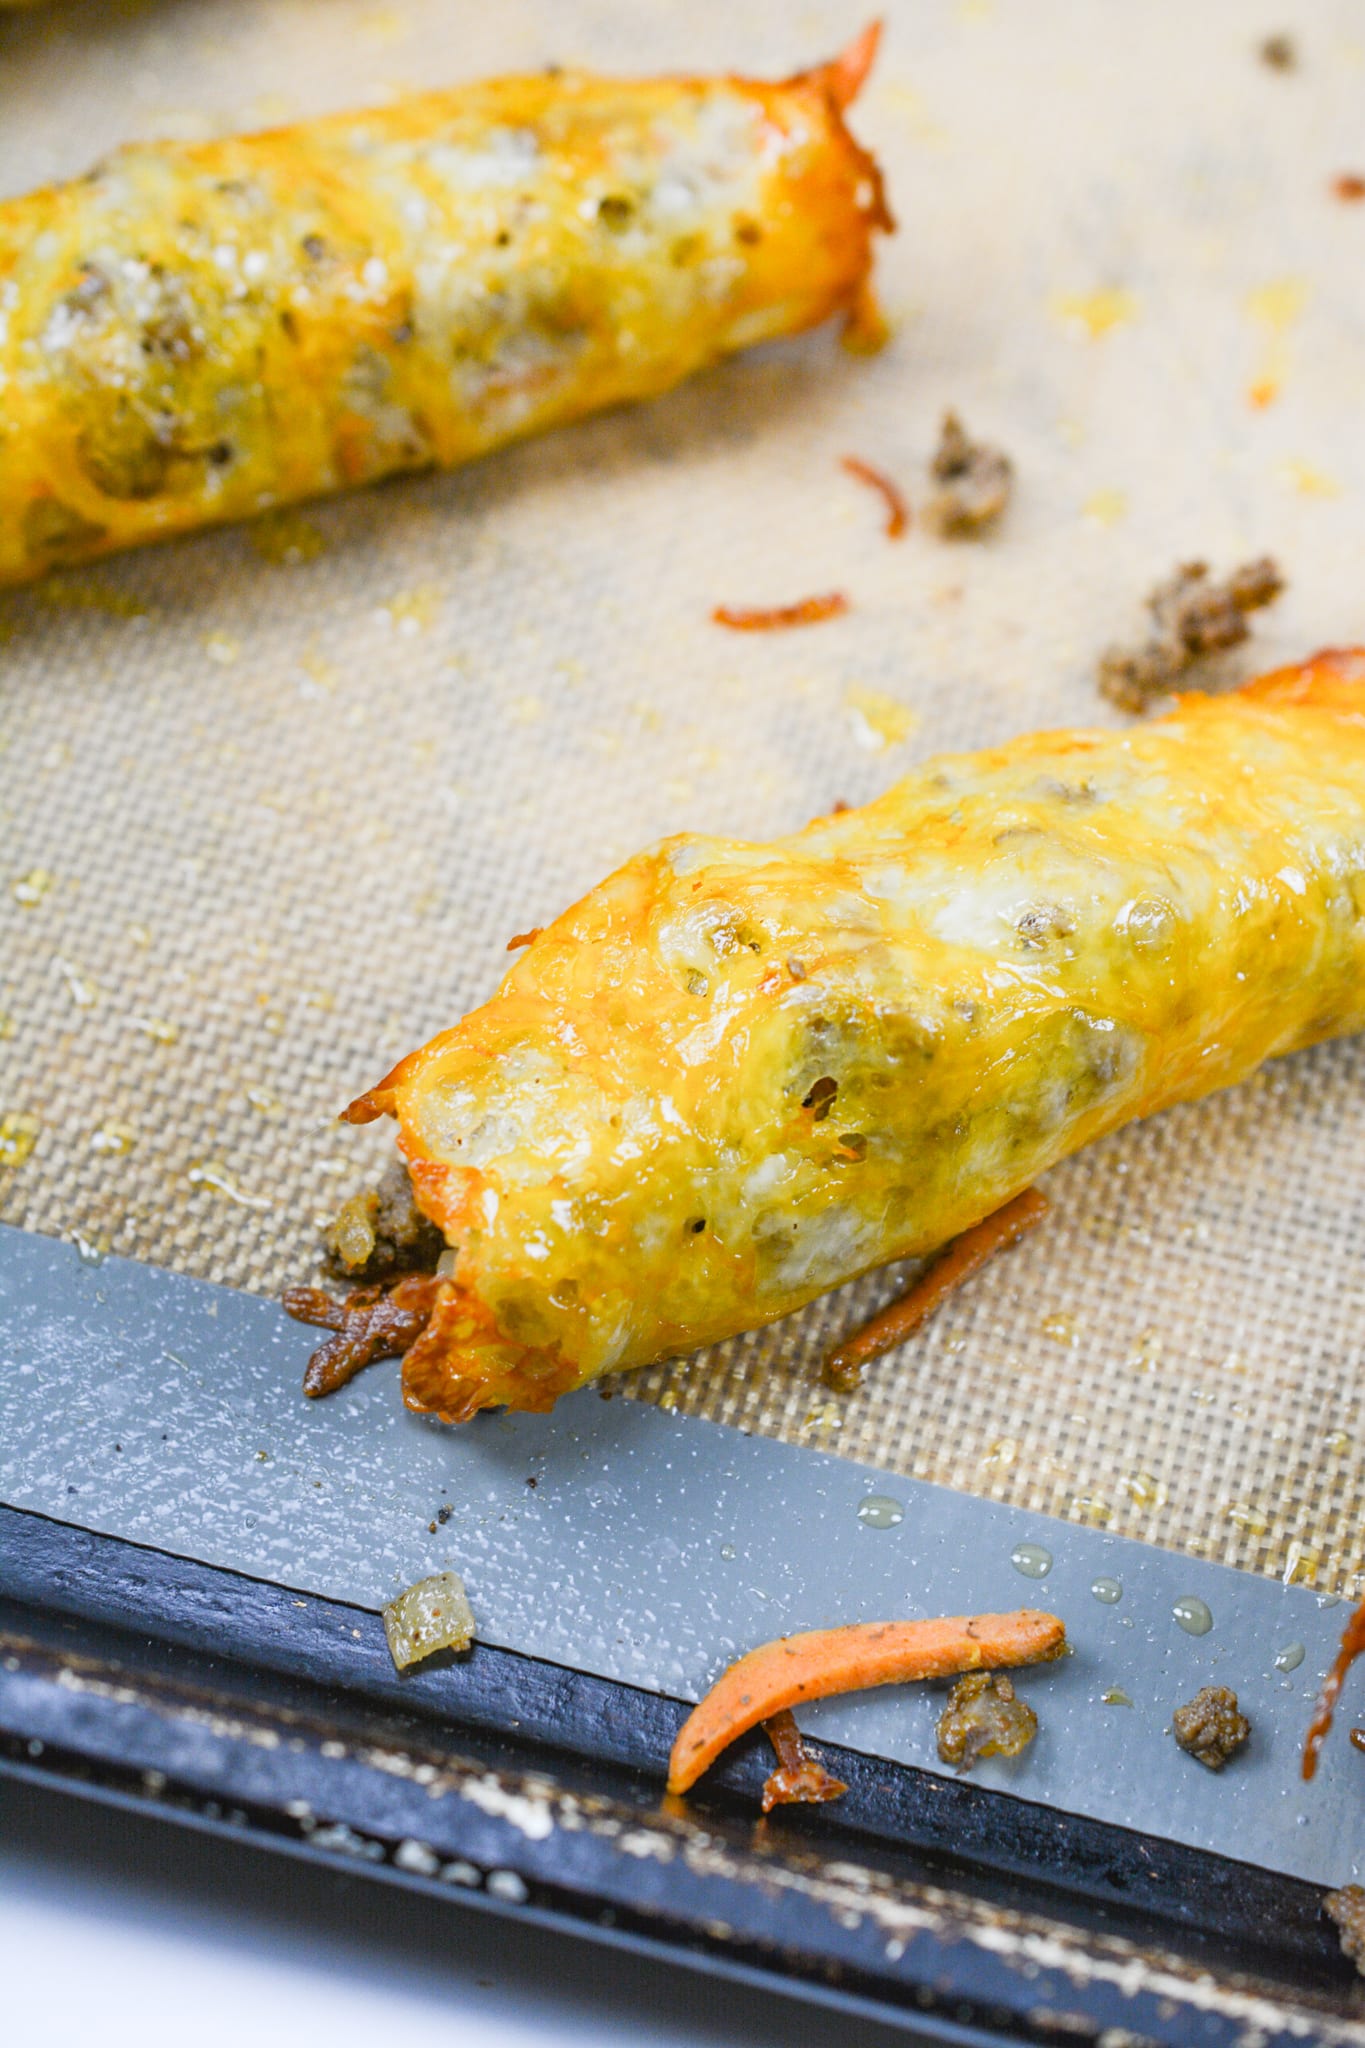
Straight out of the oven, the cheese is too molten to hold anything. Leave it sitting too long and it firms all the way into a crisp that cracks when you try to roll it. What you want is the short middle stage: set enough to lift from the parchment or silicone mat, but still warm and flexible.
So have the beef filling ready before the cheese comes out of the oven. Let the rounds rest only until you can handle them, spoon the filling down the center, and roll immediately. Do not bake all the cheese and then wander off to finish the skillet.
If a round does get too crisp to roll, don’t fight it. Let it cool and eat it as a cheese crisp with the filling on top. Same ingredients, much less swearing.
Keep the Filling Dry
A cheese shell does not have the absorbency of a tortilla, so excess liquid matters more here.
After the broth goes into the beef mixture, let it simmer until almost all of the liquid has cooked away. That is not just a flavor step. A wet filling softens the inside of the cheese shell and makes the taquito harder to roll and hold.
The same rule applies if you add extra vegetables. Zucchini, mushrooms, spinach, and peppers can all release water as they cook. If you change the filling, cook that moisture off before anything goes into the shell.
Ingredients
Cheese Shells
Beef Filling
- ½ lb ground beef
- 1x turnip, medium, diced
- ⅓ cup carrots, matchstick-cut
- ⅓x onion, medium, chopped
- 2 tsp garlic, minced
- 1 tsp chili powder
- 1 tsp cumin, ground
- A pinch of cinnamon, ground
- A pinch of pepper, cayenne, to taste (optional)
- ¼ cup beef broth
- A pinch of salt, to taste
- A pinch of pepper, black, to taste
Nutrition Facts
8 servings per recipe| Per Serving 200 | Per Recipe 1570 | |||
| 8 servings of Mexican cheese blend (2 cups) @ 110 each | 110 | 880 | ||
| 2 servings of ground beef (½ lb) @ 287 each | 71.75 | 574 | ||
| 1 serving of turnip (1 x) @ 34 each | 4.25 | 34 | ||
| ⅓ serving of carrots (⅓ cup) @ 52 each | 2.16 | 17.32 | ||
| 1 serving of onion (⅓ x) @ 32 each | 4 | 31.97 | ||
| 2 servings of garlic, minced (2 tsp) @ 5 each | 1.25 | 10 | ||
| 1 serving of chili powder (1 tsp) @ 8 each | 1 | 8 | ||
| 1 serving of cumin, ground (1 tsp) @ 8 each | 1 | 8 | ||
| ¼ serving of beef broth (¼ cup) @ 15 each | 0.47 | 3.75 | ||
| 15g | 19% | 119g | 153% | |
| 8 servings of Mexican cheese blend (2 cups) @ 9 g each | 9 g | 72 g | ||
| 2 servings of ground beef (½ lb) @ 23 g each | 5.75 g | 46 g | ||
| 1 serving of turnip (1 x) @ 0.1 g each | 0.01 g | 0.1 g | ||
| ⅓ serving of carrots (⅓ cup) @ 0.3 g each | 0.01 g | 0.1 g | ||
| 1 serving of onion (⅓ x) @ 0.08 g each | 0.01 g | 0.08 g | ||
| 1 serving of chili powder (1 tsp) @ 0.4 g each | 0.05 g | 0.4 g | ||
| 1 serving of cumin, ground (1 tsp) @ 0.5 g each | 0.06 g | 0.5 g | ||
| ¼ serving of beef broth (¼ cup) @ 0.5 g each | 0.02 g | 0.13 g | ||
| 7g | 36% | 58g | 291% | |
| 8 servings of Mexican cheese blend (2 cups) @ 5 g each | 5 g | 40 g | ||
| 2 servings of ground beef (½ lb) @ 9 g each | 2.25 g | 18 g | ||
| 1 serving of onion (⅓ x) @ 0.03 g each | 0 g | 0.03 g | ||
| 1 serving of chili powder (1 tsp) @ 0.1 g each | 0.01 g | 0.1 g | ||
| 0g | 2g | |||
| 2 servings of ground beef (½ lb) @ 1 g each | 0.25 g | 2 g | ||
| 45mg | 15% | 362mg | 121% | |
| 8 servings of Mexican cheese blend (2 cups) @ 25 mg each | 25 mg | 200 mg | ||
| 2 servings of ground beef (½ lb) @ 81 mg each | 20.25 mg | 162 mg | ||
| 260mg | 11% | 2100mg | 91% | |
| 8 servings of Mexican cheese blend (2 cups) @ 200 mg each | 200 mg | 1600 mg | ||
| 2 servings of ground beef (½ lb) @ 75 mg each | 18.75 mg | 150 mg | ||
| 1 serving of turnip (1 x) @ 82 mg each | 10.25 mg | 82 mg | ||
| ⅓ serving of carrots (⅓ cup) @ 88 mg each | 3.66 mg | 29.3 mg | ||
| 1 serving of onion (⅓ x) @ 3.2 mg each | 0.4 mg | 3.2 mg | ||
| 2 servings of garlic, minced (2 tsp) @ 1 mg each | 0.25 mg | 2 mg | ||
| 1 serving of chili powder (1 tsp) @ 26 mg each | 3.25 mg | 26 mg | ||
| 1 serving of cumin, ground (1 tsp) @ 3 mg each | 0.38 mg | 3 mg | ||
| ¼ serving of beef broth (¼ cup) @ 830 mg each | 25.94 mg | 207.5 mg | ||
| 4g | 1% | 32g | 12% | |
| 8 servings of Mexican cheese blend (2 cups) @ 1 g each | 1 g | 8 g | ||
| 1 serving of turnip (1 x) @ 7.8 g each | 0.98 g | 7.8 g | ||
| ⅓ serving of carrots (⅓ cup) @ 12.3 g each | 0.51 g | 4.1 g | ||
| 1 serving of onion (⅓ x) @ 7 g each | 0.87 g | 6.99 g | ||
| 2 servings of garlic, minced (2 tsp) @ 1.3 g each | 0.33 g | 2.6 g | ||
| 1 serving of chili powder (1 tsp) @ 1.4 g each | 0.18 g | 1.4 g | ||
| 1 serving of cumin, ground (1 tsp) @ 0.9 g each | 0.11 g | 0.9 g | ||
| ¼ serving of beef broth (¼ cup) @ 1 g each | 0.03 g | 0.25 g | ||
| 2g | 6% | 14g | 50% | |
| 8 servings of Mexican cheese blend (2 cups) @ 1 g each | 1 g | 8 g | ||
| 1 serving of turnip (1 x) @ 2.2 g each | 0.28 g | 2.2 g | ||
| ⅓ serving of carrots (⅓ cup) @ 3.6 g each | 0.15 g | 1.2 g | ||
| 1 serving of onion (⅓ x) @ 1.4 g each | 0.17 g | 1.4 g | ||
| 2 servings of garlic, minced (2 tsp) @ 0.1 g each | 0.03 g | 0.2 g | ||
| 1 serving of chili powder (1 tsp) @ 0.9 g each | 0.11 g | 0.9 g | ||
| 1 serving of cumin, ground (1 tsp) @ 0.2 g each | 0.03 g | 0.2 g | ||
| 1g | 10g | |||
| 1 serving of turnip (1 x) @ 4.6 g each | 0.57 g | 4.6 g | ||
| ⅓ serving of carrots (⅓ cup) @ 6.1 g each | 0.25 g | 2.03 g | ||
| 1 serving of onion (⅓ x) @ 3.39 g each | 0.42 g | 3.39 g | ||
| 1 serving of chili powder (1 tsp) @ 0.2 g each | 0.03 g | 0.2 g | ||
| ¼ serving of beef broth (¼ cup) @ 1 g each | 0.03 g | 0.25 g | ||
| Sugar Alcohols | 0g | 0% | 0g | 0% |
| Allulose | 0g | 0% | 0g | 0% |
| 2g | 18g | |||
| 1 serving of turnip (1 x) @ 5.6 g each | 0.7 g | 5.6 g | ||
| ⅓ serving of carrots (⅓ cup) @ 8.7 g each | 0.36 g | 2.9 g | ||
| 1 serving of onion (⅓ x) @ 5.6 g each | 0.7 g | 5.59 g | ||
| 2 servings of garlic, minced (2 tsp) @ 1.2 g each | 0.3 g | 2.4 g | ||
| 1 serving of chili powder (1 tsp) @ 0.5 g each | 0.06 g | 0.5 g | ||
| 1 serving of cumin, ground (1 tsp) @ 0.7 g each | 0.09 g | 0.7 g | ||
| ¼ serving of beef broth (¼ cup) @ 1 g each | 0.03 g | 0.25 g | ||
| 11g | 23% | 90g | 181% | |
| 8 servings of Mexican cheese blend (2 cups) @ 6 g each | 6 g | 48 g | ||
| 2 servings of ground beef (½ lb) @ 19 g each | 4.75 g | 38 g | ||
| 1 serving of turnip (1 x) @ 1.1 g each | 0.14 g | 1.1 g | ||
| ⅓ serving of carrots (⅓ cup) @ 1.2 g each | 0.05 g | 0.4 g | ||
| 1 serving of onion (⅓ x) @ 0.88 g each | 0.11 g | 0.88 g | ||
| 2 servings of garlic, minced (2 tsp) @ 0.3 g each | 0.08 g | 0.6 g | ||
| 1 serving of chili powder (1 tsp) @ 0.4 g each | 0.05 g | 0.4 g | ||
| 1 serving of cumin, ground (1 tsp) @ 0.4 g each | 0.05 g | 0.4 g | ||
| ¼ serving of beef broth (¼ cup) @ 2 g each | 0.06 g | 0.5 g | ||
About these numbers: We are home cooks, not certified nutritionists. Nutrition is shared as a courtesy and calculated with free online nutrition calculators — we compare a few to get as close as we can — so please treat it as a helpful estimate rather than a guarantee. The brands you buy, any swaps you make, and how generously you portion the recipe will all move these numbers.
Directions
-
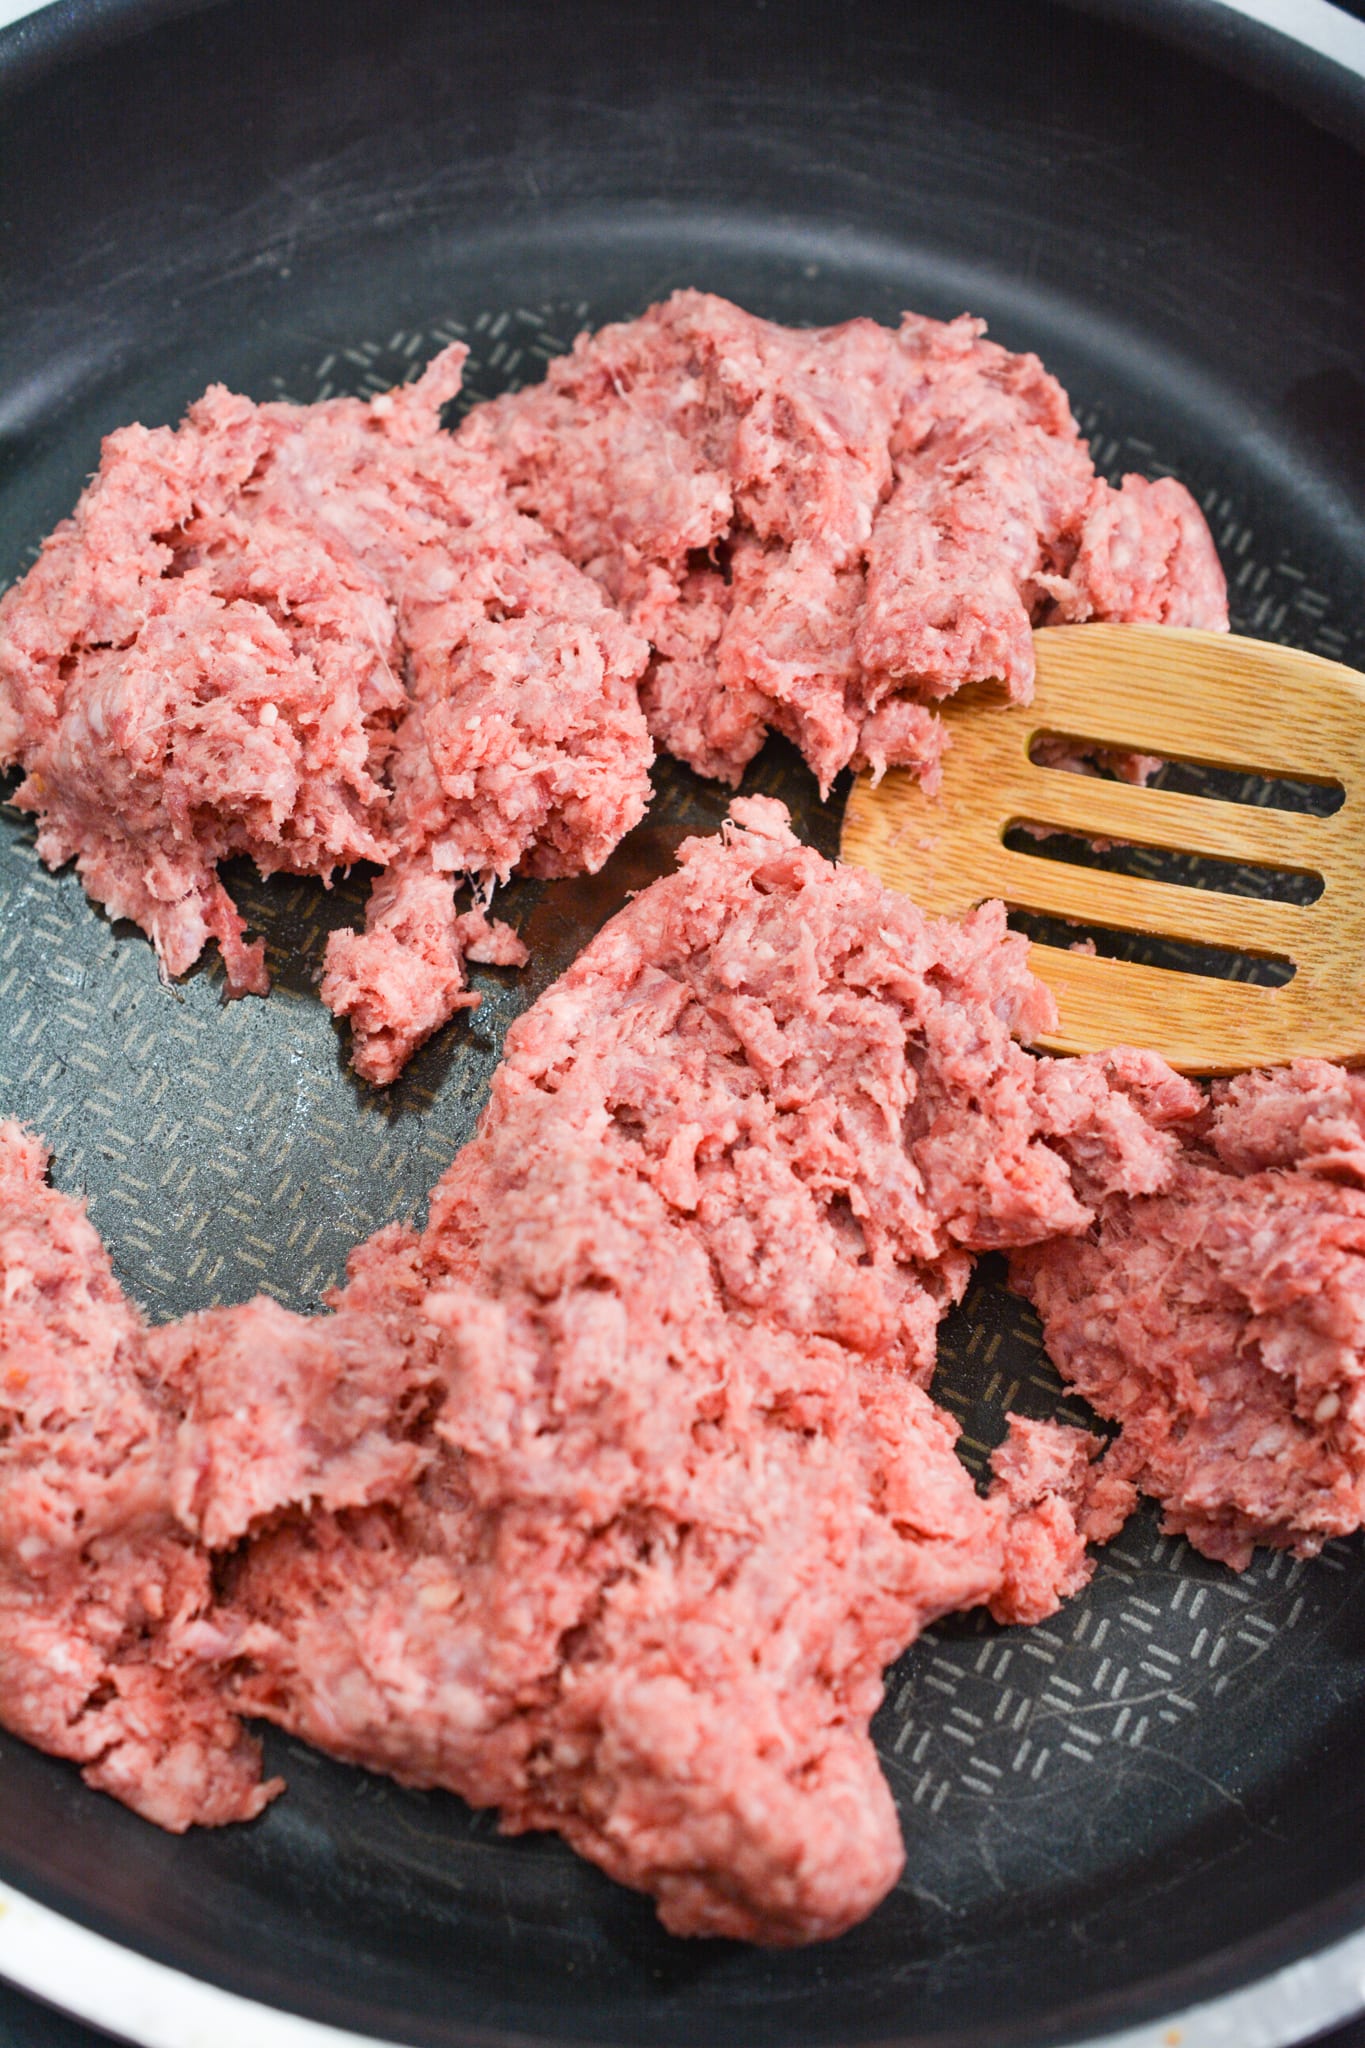
Brown the beef and turnip.
Cook the ground beef and diced turnip in a skillet over medium-high heat until the beef is completely browned.
-
-
Drain the excess grease and lower the heat.
Carefully drain off excess grease, then reduce the heat to medium.
-
Add the vegetables, garlic, seasonings, and broth.
Stir in the onion, carrots, garlic, chili powder, cumin, cinnamon, optional cayenne, beef broth, salt, and black pepper until evenly combined.
-
Simmer the filling until nearly dry.
Continue cooking until almost all of the liquid has been absorbed, then remove the skillet from the heat. Keep the filling ready before the cheese shells come out of the oven.
-
Preheat the oven.
Preheat the oven to 400°F while the filling finishes simmering.
-
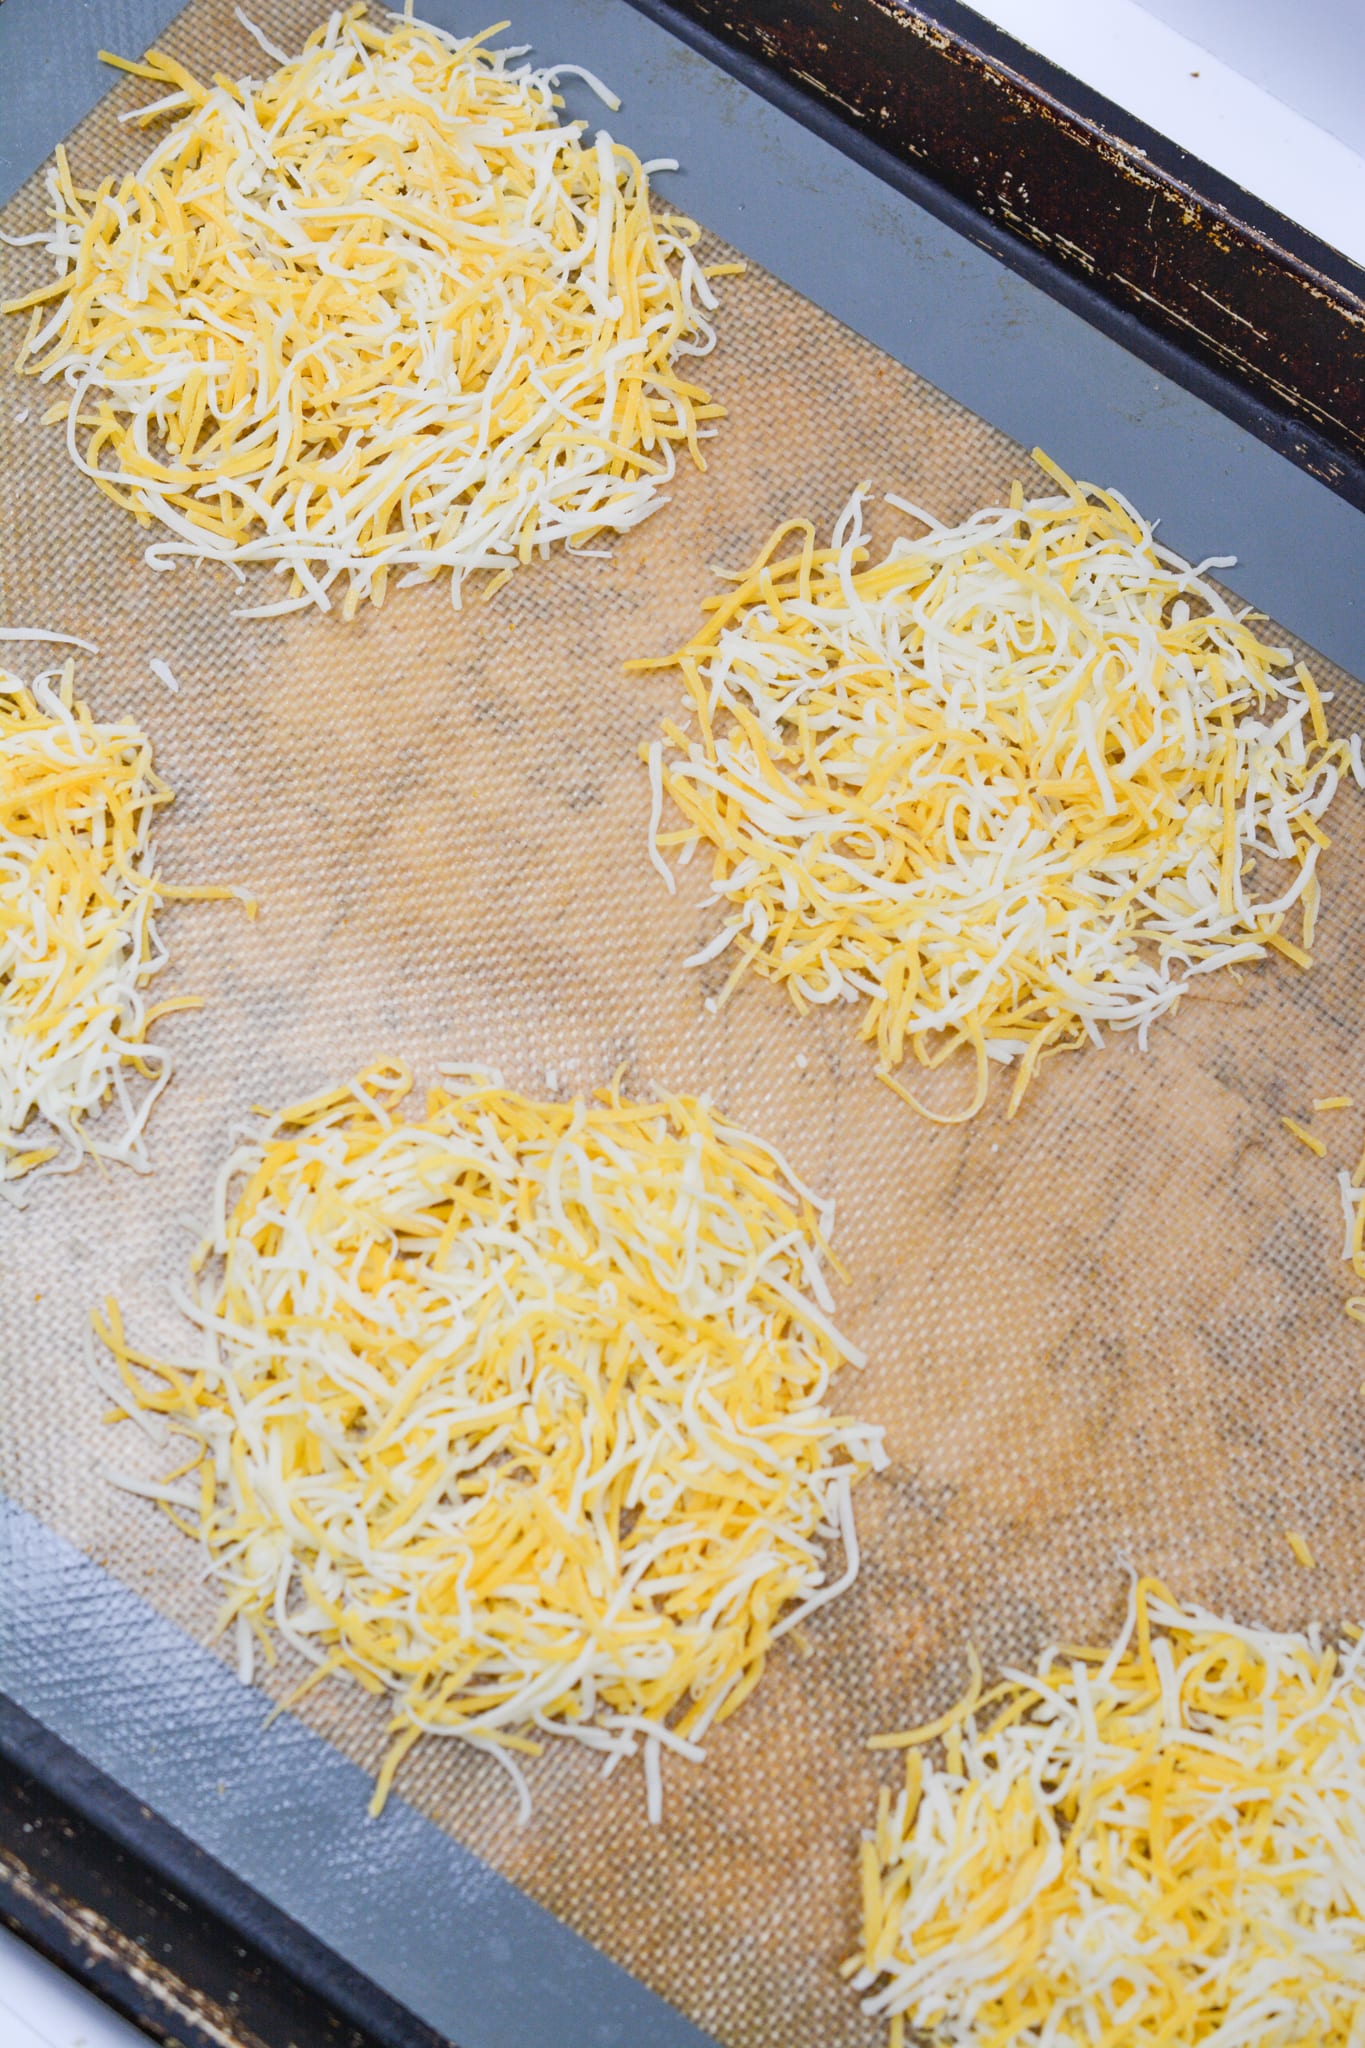
Form the cheese rounds.
Divide the shredded cheese into 8 evenly sized circles on a parchment- or silicone-lined baking sheet, leaving space between each circle.
-
-
Bake the cheese shells.
Bake for 8 minutes, or until the edges are browned and beginning to crisp.
-
Let the cheese cool briefly.
Remove the tray from the oven and let the cheese rounds cool for a few minutes, just until they are firm enough to handle but still flexible.
-
-
Fill and roll the taquitos.
Spoon the beef filling down the center of each warm cheese round, then carefully roll the cheese around the filling while the shell is still flexible.
-
-
Let the shells crisp before serving.
Allow the rolled taquitos to cool for a few more minutes so the cheese shells firm and crisp, then serve.
-
Notes
- Serve the taquitos with sour cream, salsa verde, guacamole, pico de gallo, or your favorite low-carb dip.
- The filling can be made 2 to 3 days ahead and refrigerated. Bake and roll the cheese shells close to serving for the best texture.
- Store assembled leftovers in an airtight container in the refrigerator for up to 3 days.
Frequently Asked Questions
What makes these keto taquitos different from regular taquitos?
Traditional taquitos are tightly rolled tortillas filled with meat or another savory filling and then crisped, commonly by frying. This keto version keeps the rolled shape but replaces the tortilla with a baked cheese shell and does not fry the finished taquito.
It also uses a ground-beef-and-vegetable filling rather than the shredded chicken filling that is common in many low-carb taquito recipes.
Why are my cheese shells breaking when I roll the taquitos?
The shells have probably cooled too long. They need a short rest after baking so they are firm enough to lift, but they still need to be warm and flexible when you roll them.
Have the filling completely ready before the cheese comes out of the oven. If a shell has already gone crisp, forcing it into a roll usually makes it crack. Let that one cool and use it as a cheese crisp instead.
What cheese works best for keto taquitos?
This recipe is written for a shredded Fiesta or taco-style cheese blend because that is what the tested version uses. The important part is choosing a cheese that melts into a cohesive round and firms as it cools.
Cheddar, Monterey Jack, and pepper jack are reasonable substitutes if you want to experiment, but different cheeses can brown and firm at different speeds, so use the visual cues in the recipe rather than assuming the timing will be identical.
Can I substitute the ground beef with another protein?
Yes. Ground chicken, turkey, or pork can all work with the same general method. Whatever you use, cook the filling until excess liquid has evaporated before rolling it into the cheese shells. A wet filling softens the shell and makes the taquitos harder to hold together.
Can I add more vegetables to the filling?
You can, with two things to watch. The first is carbs, so lower-carb options such as bell pepper, zucchini, mushrooms, spinach, or cauliflower rice make more sense than starchy vegetables. The second is moisture. Extra vegetables release water, and a wet filling will soften the cheese shells from the inside, so let the mixture cook until the excess liquid is gone before filling the taquitos.
Keep the total filling volume roughly similar, too. Overfilling makes the cheese rounds much harder to roll.
Can I make these keto taquitos ahead of time and reheat them later?
The filling is the best part to make ahead. You can cook it up to two or three days in advance and keep it covered in the refrigerator, then bake the cheese shells and assemble the taquitos when you want to eat.
Assembled taquitos are best the day they are made because the cheese shells soften in the refrigerator. If you do have leftovers, store them in an airtight container for up to three days and reheat them in a 350°F oven or an air fryer for a few minutes. A microwave heats them through, but the shell will be softer and chewier.
Are these keto taquitos gluten-free?
There is no flour or wheat tortilla in this recipe, so as written it should be gluten-free. Still, check packaged ingredients individually. Shredded cheese blends, beef broth, and spice mixes can vary by brand.
If you are cooking for someone with celiac disease, read each package for gluten ingredients and shared-equipment warnings rather than assuming that every brand is safe.
What can I serve with keto beef taquitos?
Sour cream is the easiest dip and works well with the warm spices in the beef filling. Guacamole, pico de gallo, salsa, and salsa verde are good options too; check jarred salsa labels if you are watching added sugar closely.
For a fuller meal, serve the taquitos with a simple green salad, cauliflower rice, or sautéed peppers and onions.
Serving and Storing
Sour cream is the easy dip, but salsa verde, guacamole, pico de gallo, or a limey chipotle sour cream all work with the beef filling too. Add a salad or cauliflower rice and these move from snack territory into dinner pretty easily.
The filling is the make-ahead part. Cook it a couple of days in advance if you want, then bake and roll the cheese shells when you are ready to eat. Assembled taquitos are best the day they are made because refrigeration softens the cheese shell.
More Keto Recipes You'll Love
-
Crispy Keto Chicken Bacon Ranch Sliders
Appetizers & Sides, Lunch & Dinner February 16, 2020 -
Low Carb Crispy Jicama French Fries
Appetizers & Sides March 30, 2018 -
Cheesy Keto Garlic Bread
Appetizers & Sides, Lunch & Dinner March 16, 2019 -
Keto Mac and Cheese
Appetizers & Sides, Lunch & Dinner April 14, 2018